
Disclosure: This article contains Amazon affiliate links. As an Amazon Associate, Clean Water Pools may earn from qualifying purchases.
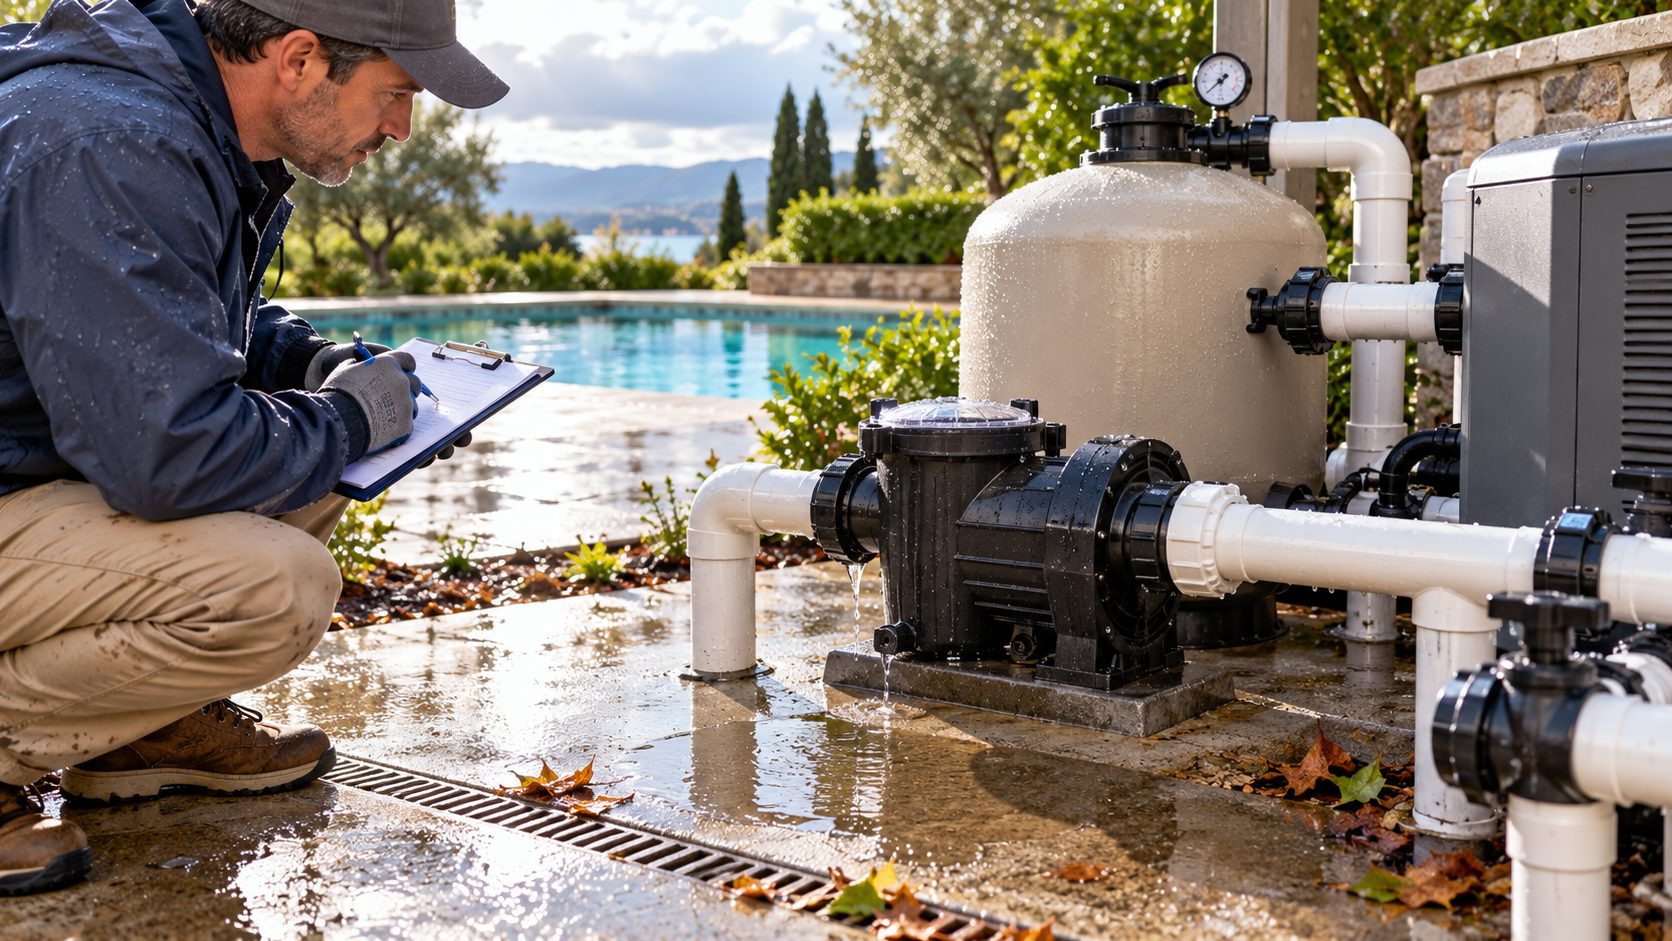
Heavy rain makes a pool equipment pad hard to read. Everything is wet, the concrete has puddles, leaves collect around the drain, and a real plumbing leak can hide inside the mess. The trick is to separate stormwater from water that appears only when the pool system is running.
This checklist is for the first calm inspection after the rain passes. It keeps the sequence simple: stay safe around electricity, look before touching, compare pump-off and pump-on conditions, then decide what needs cleaning, drying, repair, or professional service.
Calculate the chemistry change before you add more
Heavy rain can dilute sanitizer, push debris into the pool, and change the way a test result looks after circulation resumes. Use Pool Chemical Calculator to dose acid, chlorine, alkalinity increaser, stabilizer, calcium, and other adjustments from your actual pool volume and fresh test results.
Download the Pool Chemical Calculator app
Use the pool calculator website
Start With Electrical Safety and Standing Water
Do not handle pool electrical equipment while standing in water. That includes timers, automation panels, outlets, pump switches, light controls, extension cords, and heater controls. The U.S. Consumer Product Safety Commission warns that electrical shock around pools, hot tubs, and spas can be deadly, so the first inspection should happen from a dry, stable spot.
If water reached an outlet, controller, motor, junction box, conduit opening, or low-mounted electrical component, keep the system off and bring in a qualified electrician or pool professional. Do not keep resetting a tripped GFCI. A protective device that trips after rain may be telling you about moisture intrusion, damaged equipment, or a fault that deserves real diagnosis.
Map Where the Water Is Sitting
Before running the pump, take a slow look at the pad. Is water pooled evenly across the slab, or is it concentrated under one fitting? Is it flowing from a downspout, mulch bed, slope, roof edge, irrigation head, or planter? Are leaves blocking a drain channel? A photo taken before you touch anything can save time later because it captures the original water pattern.
Stormwater usually leaves broad wet areas, dirt lines, leaf trails, or puddles that follow the grade of the slab. A plumbing leak tends to create a repeatable wet spot under a pump seal, union, filter drain plug, heater connection, chlorinator, valve stem, or pipe joint. That difference matters. You do not want to replace parts because the gutter dumped water on the pad, and you do not want to ignore a pressure-side leak because the storm made everything look wet.
Compare Pump-Off and Pump-On Conditions
Only run the system if the equipment area is electrically safe and the water level is high enough for normal operation. With the pump off, blot or sweep one suspicious area enough to see whether water returns. Then start the pump and watch from a safe position for a few minutes. A leak that appears only with the pump running usually points to pressure-side plumbing, filter hardware, heater fittings, valves, or return-side connections.
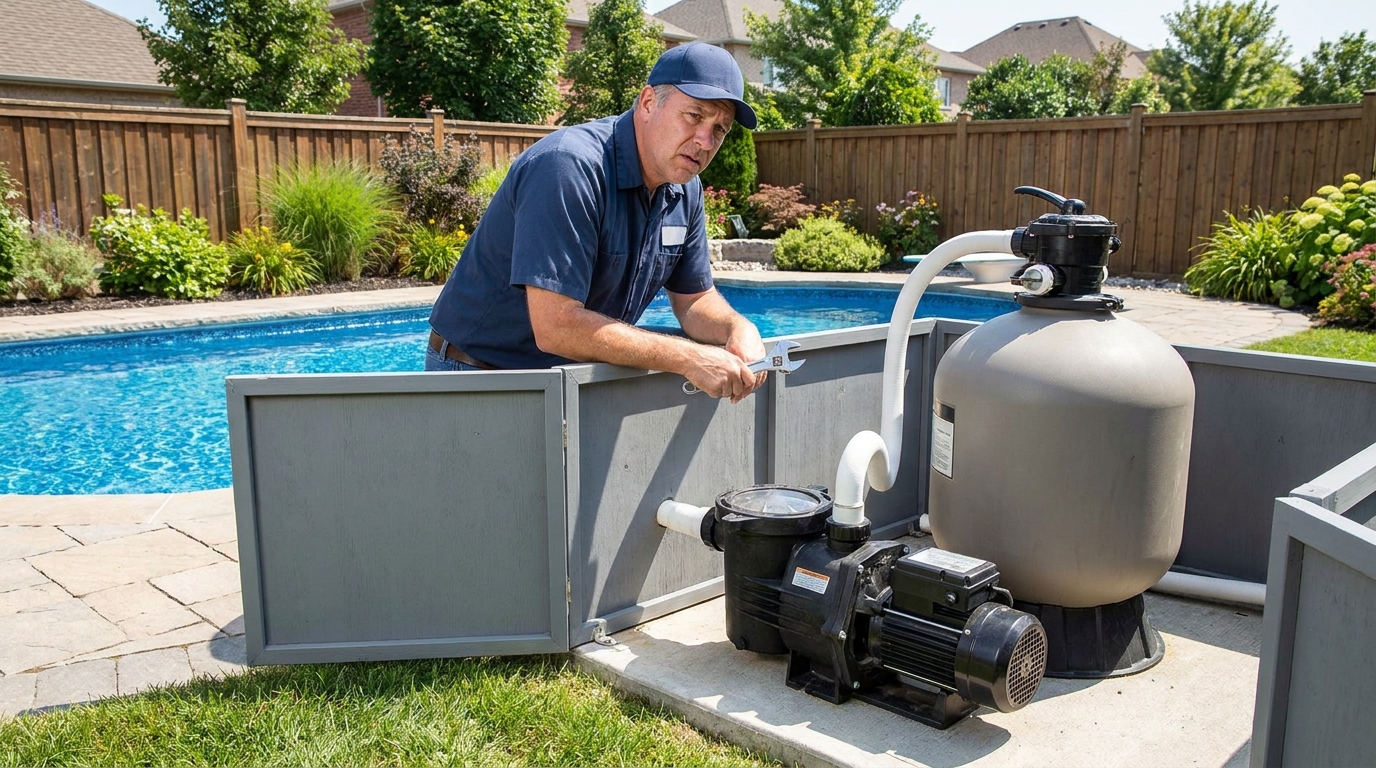
A leak that pulls air into the pump basket, makes the pump lose prime, or creates bubbles at the returns may involve the suction side. Check the pump lid o-ring, pump drain plugs, water level, skimmer basket, weir door, and suction valves before assuming the pump is failing. Pentair pump guidance warns against running a pump without water, so shut the system down if it will not prime normally.
Check the Filter, Gauge, and Drain Points
The filter deserves its own look after a storm. Check the pressure gauge, air relief area, clamp or band, tank seam, drain plug, unions, and backwash or waste line. Cartridge filter manuals warn that filters operate under pressure and must be depressurized before service, so this is not the time to loosen a clamp, open a tank, or remove a plug just to see what happens.
Look for water that beads around the pressure gauge, drips from the air relief assembly, or runs down from a tank seal. If filter pressure is much higher than your clean baseline, the rain may have pushed extra debris into the system. If pressure is much lower than normal, compare actual return flow, pump prime, valve position, and gauge condition before making chemical decisions.
Do Not Confuse Heater Condensation With a Leak
Water under a heater is not always the same problem. After rain, a heater cabinet can drip from exterior surfaces. Gas heaters and heat pumps can also produce condensation under certain operating conditions. Still, active dripping at unions, headers, drain plugs, bypass valves, or inside the cabinet should not be waved away.
Use the heater manual for your exact model. Do not remove panels, touch gas components, or probe electrical areas. If you see corrosion, repeated dripping, water inside the heater body, an error code, or water that appears when the pump is running through the heater, take photos and schedule service.
Clean the Pad Without Creating a New Problem
Once the unsafe conditions are ruled out, clear leaves from around the pad, drains, pump base, heater base, and air intakes. Do not pile mulch against equipment. Do not aim downspouts at pool controls. Keep chemical storage dry and separated from standing water. CDC pool chemical safety guidance emphasizes dry storage, ventilation, label directions, and careful maintenance around chemical systems, which becomes more important when stormwater reaches the equipment area.
If a feeder, salt system, chemical pump, or storage bin got wet, slow down. Do not mix wet chemicals, do not inhale fumes, and do not open a feeder that may be pressurized. Turn off feed and circulation equipment according to the manual before service, and call for help if chemical containers, tablets, or feed lines were exposed to flooding.
Simple Supplies That Help the Inspection
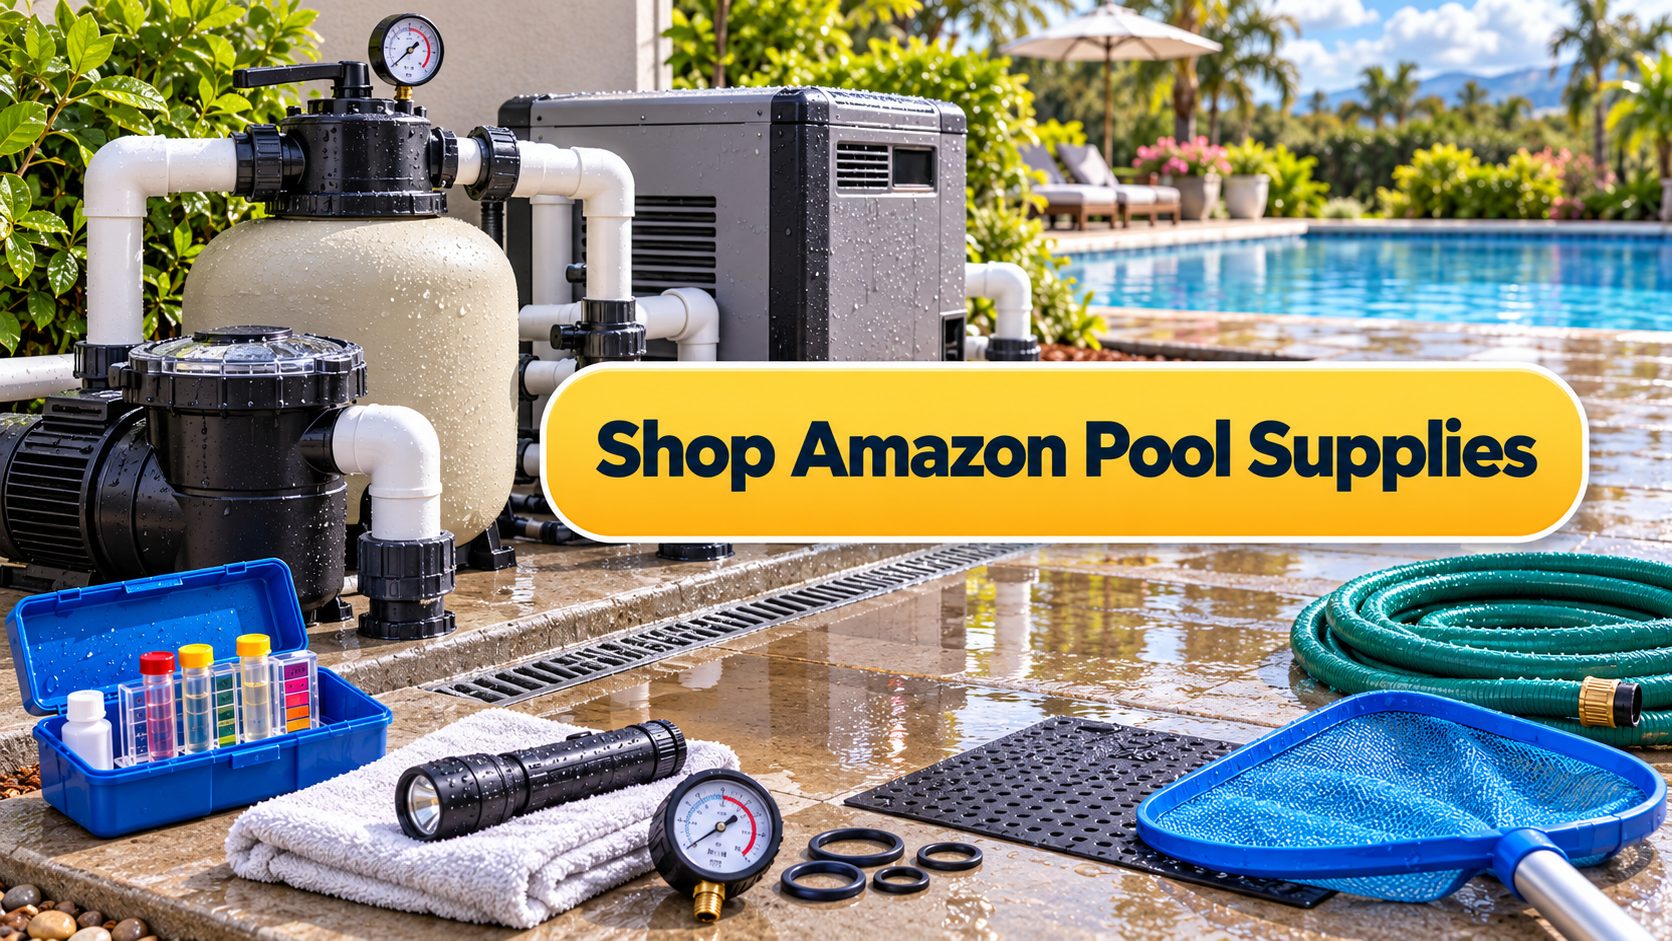
A few low-tech items make this check easier: a bright flashlight, towels, a phone camera, nitrile gloves, a notebook, replacement o-rings for parts you normally service, a working filter pressure gauge, and a reliable pool test kit. If drainage around the equipment pad keeps causing trouble, compare pool equipment pad drainage supplies, pressure gauges, and test kits on Amazon against the requirements for your actual equipment.
Helpful pool supplies
As an Amazon Associate, Clean Water Pools may earn from qualifying purchases.


Clean Water Pools may earn from qualifying Amazon purchases.
After the Pad Is Dry, Test the Pool
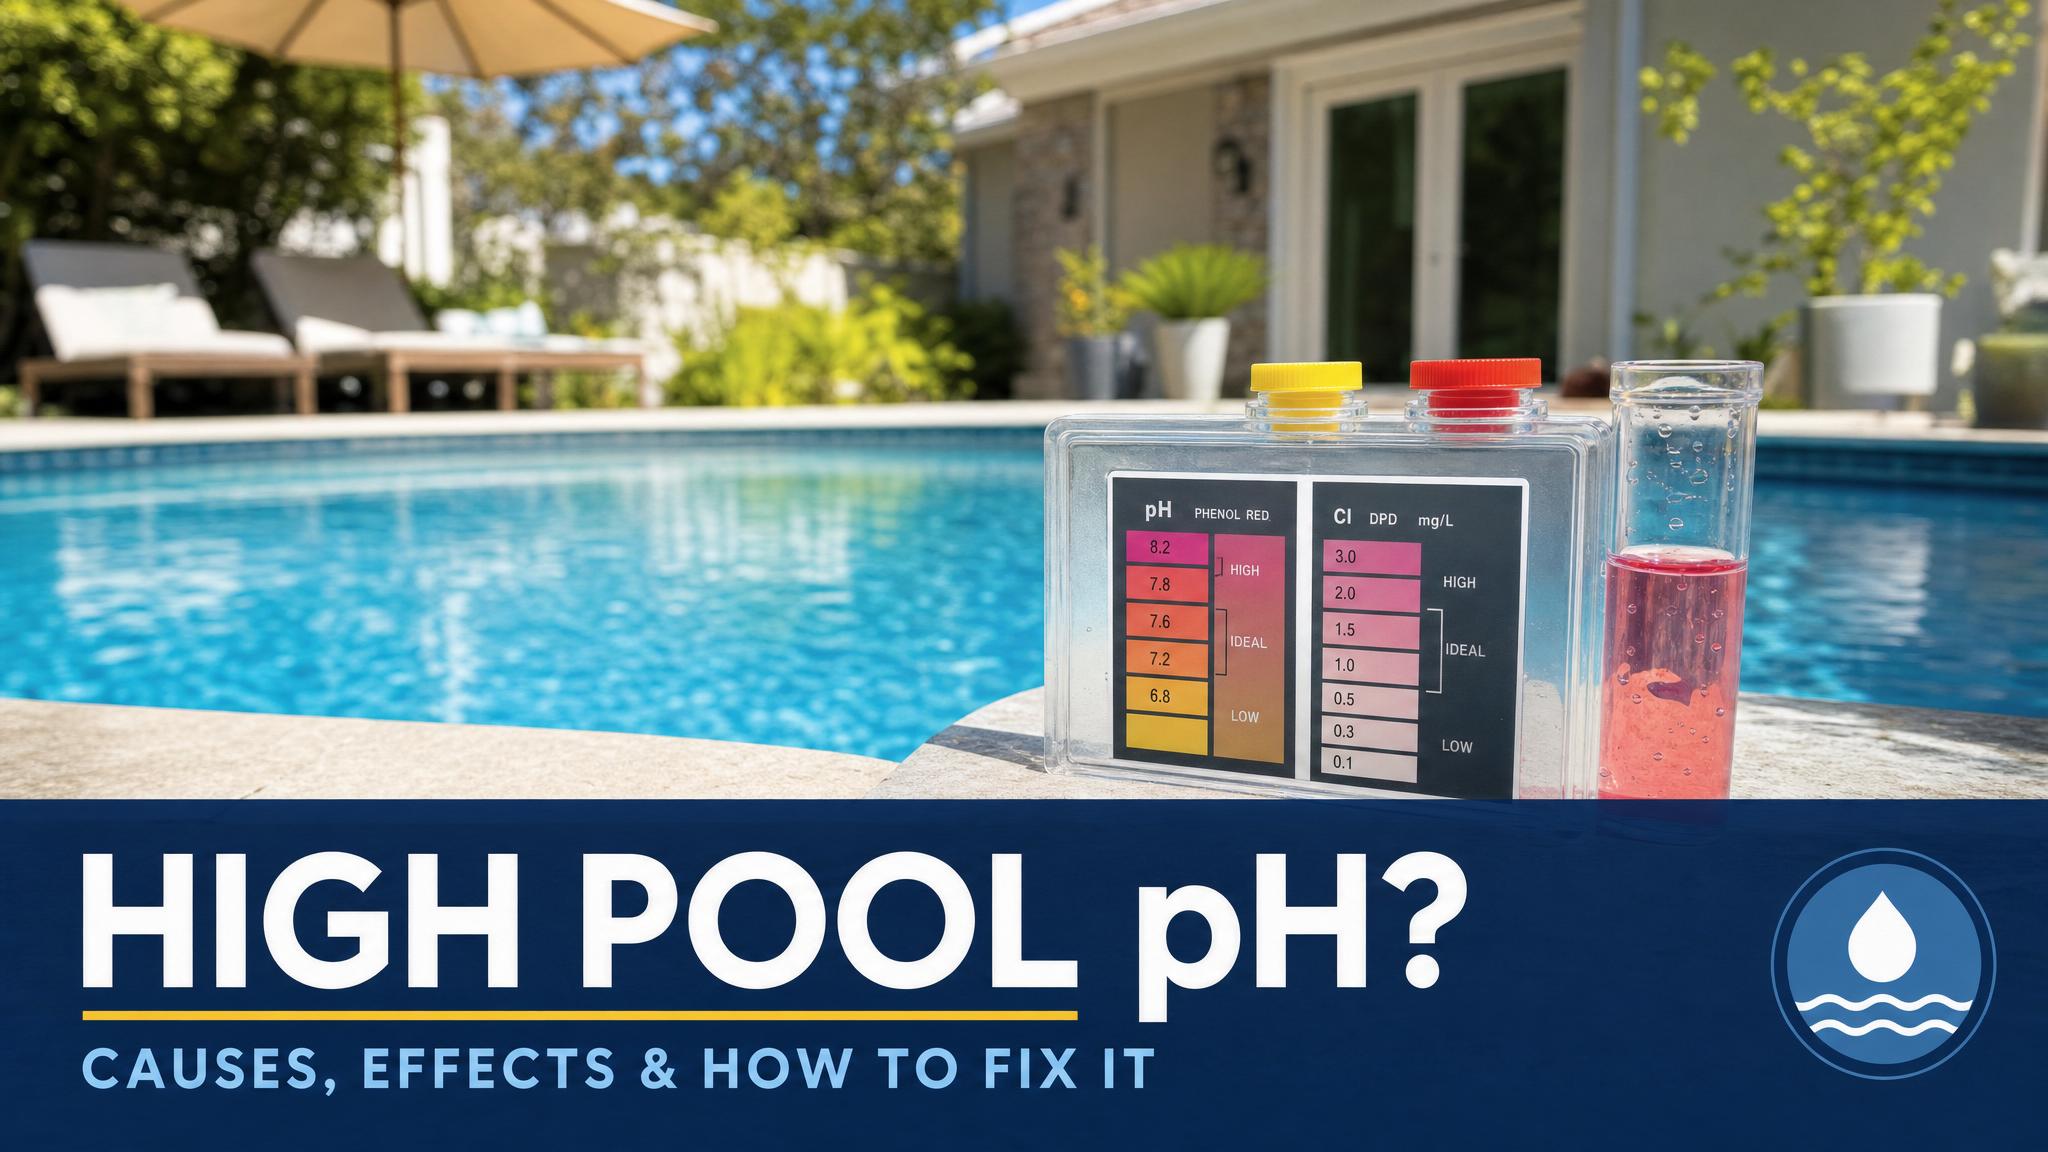
Rain inspection is not finished at the equipment pad. Once circulation is safe and running normally, test the pool water. CDC homeowner guidance identifies disinfectant and pH as first-line protections for swimmers, and heavy rain can dilute sanitizer while washing organic debris into the water.
Use the Pool Chemical Calculator website or the Pool Chemical Calculator app with current readings. Do not add shock, acid, clarifier, or algaecide because the pad was wet. Dose from a test result, circulate, then retest if the storm brought in a lot of debris.
Safety and Medical Note
This article is pool-care information, not electrical, gas, medical, or professional repair advice. It is not medical advice for swimmers with health concerns. Keep swimmers out of the water when electrical equipment may be unsafe, when water chemistry is outside the safe operating range, or when flooding has affected the equipment pad. Use a qualified electrician, pool professional, gas technician, or the equipment manufacturer when a concern involves wiring, bonding, GFCI trips, flooded motors, heater internals, gas equipment, pressure vessels, chemical feeders, or leaks you cannot identify safely.
Research Note
Factual guidance for this checklist was checked against the CPSC electrical safety guidance for pools, hot tubs, and spas, CDC/NIOSH pool chemical safety guidance, CDC healthy swimming guidance for disinfectant and pH, Pentair pump installation and maintenance guidance, and Pentair cartridge filter guidance. I kept model-specific repair steps out of the checklist because drain plugs, clamps, heaters, valves, automation, wiring, and warranty language vary by equipment.
FAQ
How can I tell rainwater from a pool equipment leak?
Look at the pattern before the pump runs, then compare it with the system operating safely. Broad puddles, leaf trails, and water following the slab grade often point to stormwater. Repeatable dripping from a union, pump seal, filter drain, heater fitting, valve, or pipe joint points more toward an equipment leak.
Should I restart pool equipment after flooding?
No. If motors, outlets, controls, wiring, conduit, or heater electrical areas were exposed to flooding, keep the equipment off and get professional inspection first. Do not stand in water and reset breakers or GFCI devices.
Is water under a pool heater always a leak?
Not always. Rainwater and condensation can collect under or around a heater. Active dripping from fittings, corrosion, error codes, water inside the cabinet, or water that appears only when the pump is moving through the heater should be checked against the heater manual and by a qualified service person.
Do I need to shock the pool after heavy rain?
Test first. Heavy rain can dilute sanitizer and add debris, but the right treatment depends on free chlorine, pH, stabilizer, water clarity, and swimmer safety. Use calculated doses instead of treating every storm the same way.
Bottom line: after heavy rain, inspect the equipment pad in a safe order: electricity first, water pattern second, pump-off versus pump-on behavior third, and chemistry only after circulation is safe.
For water-balance adjustments after the storm, use fresh test results in the Pool Chemical Calculator app or at poolchemicalcalculator.com.